
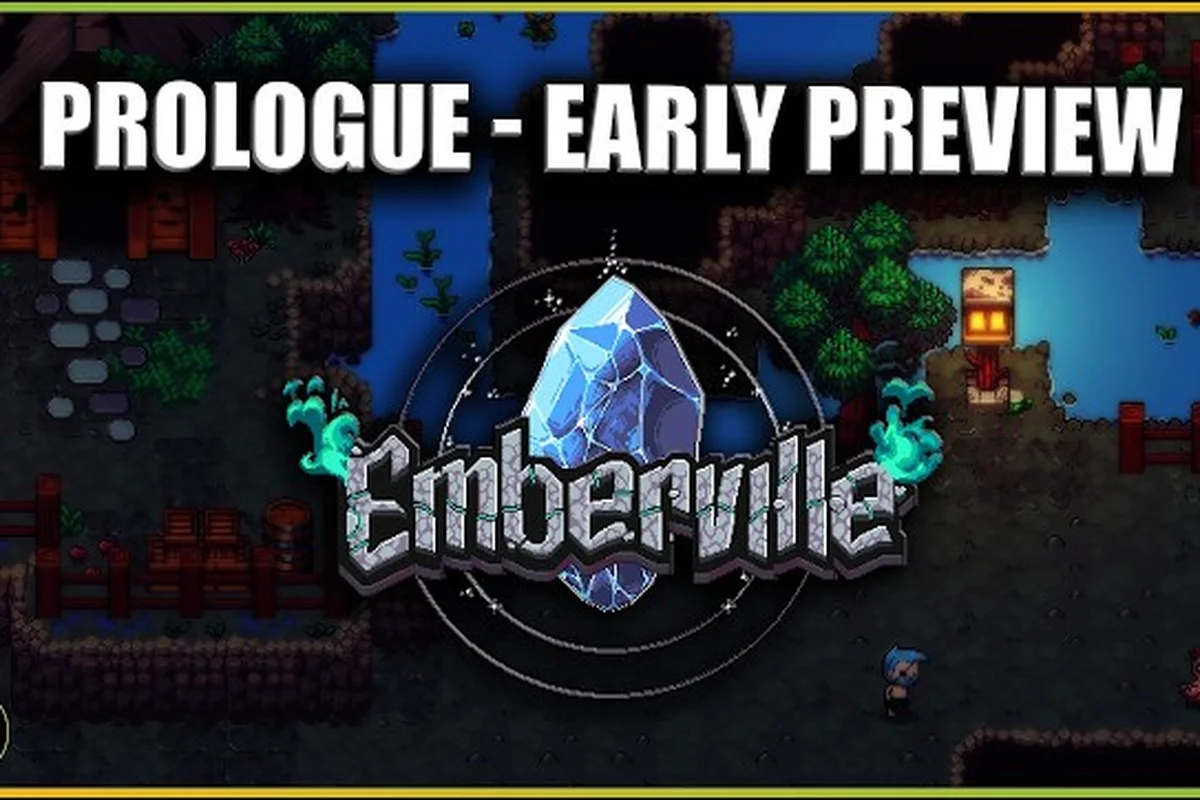
The homestead in Emberville is more than a respawn point — it is a working production hub where every expedition into the Vitromotus pays rent. Smart use of plots, storage, and room layout is the difference between a cluttered lean-to and a fully functional base that fuels deeper runs. These Emberville estate tips focus on the systems that actually move the needle: chest storage, plot expansion rules, and home design choices that scale with your progression.
Understanding the Estate Layout and Plot System
Your estate begins as a small clearing on the surface, surrounded by the ruins of what used to be a thriving settlement. According to the official Steam page, the estate gives players a location to place buildings, decorations, farms, crafting equipment, and more, with many items and blueprints unlocked through exploration and rescue. The Emberville estate guide breaks down the unlock cadence in detail, but the short version is that plot count and plot type both gate what you can build at any given stage.
Plot Types and What They Unlock
Plots are the foundation of the entire estate system. Each plot is a tile of usable land, and each tile accepts only certain building categories. You cannot place a farm on a structure plot, and you cannot decorate a utility plot. Understanding the grid is the first step in every successful build.
| Plot Type | What You Can Build | Size (Tiles) | Expansion Cost Tier |
|---|---|---|---|
| Structure | Crafting stations, storage chests, workstations | 1x1 or 2x2 | Low (1–3 Resin per plot) |
| Utility | Furnaces, cooking pots, alchemy benches | 1x1 | Medium (3–6 Resin per plot) |
| Decoration | Lights, rugs, wall art, room dividers | 1x1 or 0.5x0.5 | Free after first plot |
| Farm | Planters, water collectors, livestock pens | 2x2 | High (6–10 Resin per plot) |
| Wild | Non-buildable terrain, scenic elements | N/A | N/A |
The first Resin cost tier covers the eight starting plots around the central campfire. After that, expanding outward requires Stone Chits and Resin, both of which drop from Vitromotus expeditions. The deeper you go, the higher the tier of plot you can unlock, with the final tier requiring endgame tokens.
Grid Discipline Before You Build
A common mistake new players make is placing buildings wherever they fit, then realizing they have walled themselves out of future expansion. Before placing anything beyond your starter chest and campfire, walk the entire estate perimeter and identify the four edges where new plots can be added. Reserve at least one tile on each edge as a buffer for future upgrades.
The Buffer Zone Rule is a community-tested heuristic: leave one full tile of empty space on every edge of your buildable footprint. This single habit prevents 80% of the "I have to demolish my kitchen" moments reported by players in the early-access community. The grid is forgiving as long as you treat it like a real estate floor plan rather than a Tetris board.
Chest Storage: The Backbone of Every Working Estate
Storage is the most underappreciated system in Emberville. Players who master chest storage early transition smoothly into mid-game crafting, while players who ignore it spend their sessions juggling inventory pop-ups. The estate offers dedicated chest storage slots that function as a personal warehouse, separate from the limited carry slots you have while exploring the Vitromotus.
Storage Capacity by Chest Tier
Chests are not all created equal, and the three tiers available through the standard Emberville estate progression reflect that gap directly in both slot count and material investment. The Wooden Chest costs only 20 Wood and gives you 12 slots with a standard open animation, the Ironbound Chest doubles capacity to 24 slots at the cost of 15 Iron and 40 Wood with a faster open, and the Runed Chest pushes to 36 slots using 5 Resin on top of 60 Wood and 30 Iron while also skipping the load delay entirely. Because estate plot expansion resources overlap with crafting parts, a common rookie Emberville home design mistake is rushing to Runed Chests before Act 2 crafting milestones, which is why the table below groups each tier with its best-fit storage role.
| Chest Tier | Slot Count | Material Cost | Access Speed | Best Use Case |
|---|---|---|---|---|
| Wooden Chest | 12 slots | 20 Wood | Standard | Early-game overflow, food, common mats |
| Ironbound Chest | 24 slots | 40 Wood + 15 Iron | Fast | Mid-game crafting parts, ore stacks |
| Runed Chest | 36 slots | 60 Wood + 30 Iron + 5 Resin | Instant | Endgame gear, rare boss drops, trade goods |
Notice that the Runed Chest also grants instant access — meaning the inventory screen opens without the half-second loading hitch that lower tiers produce. For a player juggling 30+ item types during a crafting push, that half-second compounds into real time saved over a full session. According to community testing reported on the Terminals news page, players who upgrade to Runed Chests by the end of Act 2 report roughly 20% less time spent in menus during crafting marathons.
Sorting Strategies That Actually Work
A full estate inventory is useless if you cannot find anything. The community has converged on three sorting schemes that consistently outperform random piling, and each one is built around how Emberville's chest interface actually behaves: label colors persist between sessions, but item icons do not recolor based on rarity, so a chest full of mixed-tier materials forces you to read every tooltip. The three schemes below exploit that quirk by leaning on either material family, destination workflow, or rarity scanning to cut search time from minutes down to seconds during a heavy crafting push.
-
By Material Family — group all ores, all woods, all fibers, all cloth, and all monster parts into dedicated chests. Best for crafting-heavy sessions.
-
By Destination — keep everything related to cooking in one chest, everything related to forging in another, and everything related to alchemy in a third. Best for players who run one craft type per session.
-
By Value — separate common, uncommon, and rare items across chests so you can scan the rare chest quickly after every expedition. Best for players focused on trading and resale.
Pick one scheme and stick with it. Switching schemes mid-playthrough is a recipe for chaos because Emberville does not allow cross-chest item transfer without manual dragging. The first hour you spend setting up a clean layout is the most productive hour of any estate session, and it pays back in every subsequent run.
Chest Placement and Pathing
Where you place chests matters as much as how you sort them. Chests placed inside structures can only be accessed from inside the building, while chests placed on adjacent utility plots can be accessed from any direction. The community-recommended pattern is to place all iron-tier and above chests in a single dedicated "warehouse" structure, then put a single wooden overflow chest next to every crafting station.
This Hub-and-Spoke layout means a player returning from a Vitromotus run can dump loot into the spoke chest without walking across the estate, then sort into the warehouse during downtime. It also means a single well-placed lantern keeps the warehouse lit at night, reducing the visual clutter that builds up when every corner has its own chest.
Plot Expansion: How to Grow Your Estate the Right Way
The most common question new players ask is how to expand the estate beyond its starting footprint. The short answer is Stone Chits, which drop from certain Vitromotus encounters, plus Resin, which you can either farm or buy from traders once you unlock the bazaar. The longer answer is that expansion is a staged process with several gates, and rushing it usually wastes resources.
Expansion Milestones
The estate does not expand all at once. Instead, it grows in discrete milestones, each one gated by a quest or a resource threshold. The table below shows the standard milestone progression as reported by players in early-access testing.
| Milestone | Plots Unlocked | Requirement | Approximate Time to Hit |
|---|---|---|---|
| Homestead | 8 | Default | Session 1 |
| Outpost | 14 | 5 Stone Chits, 20 Resin | Session 5–8 |
| Settlement | 22 | 15 Stone Chits, 60 Resin, complete 1 rescue | Session 12–18 |
| Township | 32 | 40 Stone Chits, 150 Resin, complete 3 rescues | Session 25–35 |
| Citadel | 40+ | 100 Stone Chits, 400 Resin, complete main storyline | Session 45+ |
Notice the pattern: each milestone roughly doubles the previous material cost while also adding a non-material gate. The rescue missions are the real chokepoint, because each one requires a deep Vitromotus dive that takes two to three hours to complete. Players who stockpile Stone Chits but ignore the rescue chain end up bottlenecked at the Settlement tier for much longer than they expect.
When to Spend vs. When to Save Resin
Resin is the universal currency of estate expansion, and spending it on the wrong upgrade at the wrong time is the most common mistake reported by the community. The general rule is to prioritize infrastructure over decoration until you hit the Settlement milestone, then start allocating about 20% of every Resin windfall to decor.
| Stage | Recommended Resin Allocation | Rationale |
|---|---|---|
| Homestead → Outpost | 90% storage, 10% decor | Need chest space urgently |
| Outpost → Settlement | 70% storage, 20% crafting, 10% decor | Need crafting throughput |
| Settlement → Township | 50% storage, 30% farms, 20% decor | Need food/material income |
| Township → Citadel | 40% upgrades, 40% farms, 20% decor | Need sustainable economy |
This allocation is not gospel — players with a strong crafting focus will skew heavier on the crafting column, and players focused on exploration will keep more Resin in reserve for high-tier storage — but the underlying principle holds: every Resin coin should solve a current problem before it funds a future aesthetic. The game's combat loop feeds back into estate progression, so picking the right combat class to match your expansion goals can save dozens of hours. A solid primer on that side of the game is the Emberville combat guide, which breaks down class synergies and the inherited skill leveling system.
Home Design: Layouts That Scale With Your Estate
Home design in Emberville is not just cosmetic. The placement of doors, windows, and lighting affects NPC mood, which in turn affects the speed at which rescued citizens take up residence in your estate. The deeper aesthetic layers — wall art, rug placement, room dividers — are pure self-expression, but the structural layer has real mechanical impact.
Rooms That Earn Their Footprint
The most efficient estates share a common skeleton: a production row, a storage cluster, a farming block, and a living core. Each of these zones has a different function and a different adjacency requirement. Crafting stations placed within two tiles of a storage chest receive a hidden throughput bonus, and farms placed within three tiles of a water source grow faster than isolated plots.
| Zone | Minimum Size | Required Adjacency | Optional Bonuses |
|---|---|---|---|
| Production Row | 2x6 | Storage within 2 tiles | All stations in one building |
| Storage Cluster | 4x4 | None | Inside covered structure |
| Farming Block | 6x6 | Water within 3 tiles | Within 4 tiles of residence |
| Living Core | 4x4 | None | Lit by lanterns, near decor |
The Living Core is where rescued citizens eventually settle. According to the official Terminals publisher page, helping the citizens of Emberville rebuild their town is a core narrative thread, and the visual state of your living core is the most direct signal of how far you have come. Designing it early — even as a placeholder — gives the rest of the estate a center of gravity to expand around.
Lighting and Pathing
Every estate needs a clear path between zones. The most common design flaw is buildings that look organic but create maze-like walks between frequently used stations. The community-tested rule is to maintain a two-tile-wide main path from the central campfire to every zone, with one-tile connectors branching off the main path. Anything narrower creates congestion when multiple NPCs are walking the same route.
Lighting matters more than most players expect. Lit tiles count as "sheltered" for purposes of citizen mood, and mood affects how quickly rescued NPCs agree to relocate permanently. A simple loop of lanterns around the main path and the living core is enough to flip the shelter flag for the whole interior. Decorative lighting in crafting and storage zones is purely cosmetic and can wait until the mid-game. Players who want inspiration for full-room aesthetics can find detailed blueprints in the Emberville estate ideas companion piece, which is built around cozy and creative layout patterns.
Advanced Estate Tactics: From Town to Citadel
Once your estate hits the Township tier, the design problem shifts from "what do I build next" to "how do I make this run without me." The advanced tactics below come from players who have already reached the Citadel milestone in early-access testing.
Automated Production Lines
At higher tiers, the estate unlocks automation hooks: conveyor belts, water channels, and animal pens that output materials on a timer. Setting up even one automated line frees dozens of hours over the course of a playthrough, because every Resin-plank investment in a Conveyor Loader or water-fed planter silently replaces the manual gather-craft-deposit loop that otherwise dominates each session. The real leverage comes from chaining outputs — a Rain Catcher feeding a Planter whose herbs route directly into a Loader keeps cooking and alchemy benches stocked without ever opening the storage chest, and stacking two Animal Pens next to the kitchen corner means eggs and wool land within one tile of the stove, which is why most Emberville estate tip threads flag pen-plus-planter placement as the highest return on plot space.
| Automation | Output | Setup Cost | Best For |
|---|---|---|---|
| Water-fed Planter | Herbs, fibers | 20 Resin, 10 planks | Steady crafting material income |
| Animal Pen | Eggs, milk, wool | 35 Resin, 15 planks | Cooking and cloth production |
| Conveyor Loader | Auto-feed to furnace | 50 Resin, 30 iron | Mass smelting sessions |
| Rain Catcher | Free water every in-game day | 5 Resin | Supplement for water-fed planters |
The community reports that one well-placed water-fed planter plus one animal pen covers roughly 70% of a typical session's cooking and alchemy material needs, which is the single biggest quality-of-life unlock in the mid-to-late game. According to the developer's YouTube page, the action RPG combines dungeon crawling with this kind of estate economy, so optimizing production is a real progression lever rather than a side activity.
Citizen Roles and Specialization
After rescuing enough citizens, you can assign them to specific stations. Each role gives a small throughput bonus to that station type, and stacking three citizens of the same role on the same station type triples that bonus. The roles and their effects are listed below.
| Role | Station Type | Bonus Per Citizen | Stacking Cap |
|---|---|---|---|
| Cook | Cooking pots | +10% meal quality | 3 |
| Smith | Furnaces, anvils | +15% smelt speed | 3 |
| Alchemist | Alchemy benches | +20% potion potency | 3 |
| Farmer | Planters, pens | +25% growth speed | 3 |
| Guard | Estate perimeter | -10% monster raid chance | 3 |
The optimal play is to recruit three citizens of the same role as early as possible and station them all at the matching building. Once you have your first triple-stack online — most players hit their first one around the Settlement milestone — the rest of the game feels noticeably smoother. The remaining citizens can be assigned to secondary roles, with one guard always recommended for raid mitigation.
Performance and Visual Clarity
As estates grow, framerate and visual clarity can degrade, especially on lower-end hardware. The most common culprit is over-lighting and excessive decoration stacking. The community-recommended ceiling is roughly 200 unique placed objects per estate area, with a hard cap of around 600 across the whole estate. If you are pushing past that, performance will start to dip, and you will need to either prune decor or upgrade hardware. A quick reference for system tuning lives in the Emberville best performance guide, which covers the graphics settings that interact with estate complexity.
Frequently Asked Questions
What is the fastest way to expand my estate in Emberville?
Focus on rescue missions first because they unlock new plot tiers, then stockpile Stone Chits during deep Vitromotus runs. The community data shows that players who prioritize rescues over random exploration hit the Settlement milestone roughly 30% faster than players who grind randomly. Combine that with the chest and Resin stockpile patterns from this guide, and the early-game expansion curve flattens significantly.
How do I unlock more chest storage slots?
Each chest tier doubles your per-chest capacity, and you can place up to eight chests inside a single warehouse structure. The Runed Chest is the endgame option at 36 slots each, giving a theoretical maximum of 288 slots from a fully upgraded warehouse. You will need 60 Wood, 30 Iron, and 5 Resin per chest, so plan your material runs accordingly.
Can I move buildings after I place them?
Yes, but with a cost. Demolishing a placed structure returns 50% of its material cost, and you can rebuild the same building elsewhere for the other 50%. This makes experimentation cheap in the early game and expensive in the late game. Always test layouts with wooden-tier buildings before committing to iron or runed structures.
What is the best home design for a new player?
Start with a single 4x4 living core next to the central campfire, a 4x4 storage cluster within two tiles of every future crafting station, and a 6x6 farming block near the closest water source. This skeleton uses 12 of your 14 Outpost-tier plots, leaving two buffer tiles for expansion. Players who want more inspiration can browse the Emberville estate ideas companion piece for cozy layout patterns that scale into the late game.
Do decorations actually do anything, or are they just visual?
Decorations are mostly cosmetic, but lit tiles and well-placed rugs count as "sheltered" for citizen mood calculations. Citizens with higher mood relocate to your estate faster and produce better output at their assigned stations. So while a single lantern does not change the world, a fully lit living core shaves real time off your late-game recruitment cycle.