
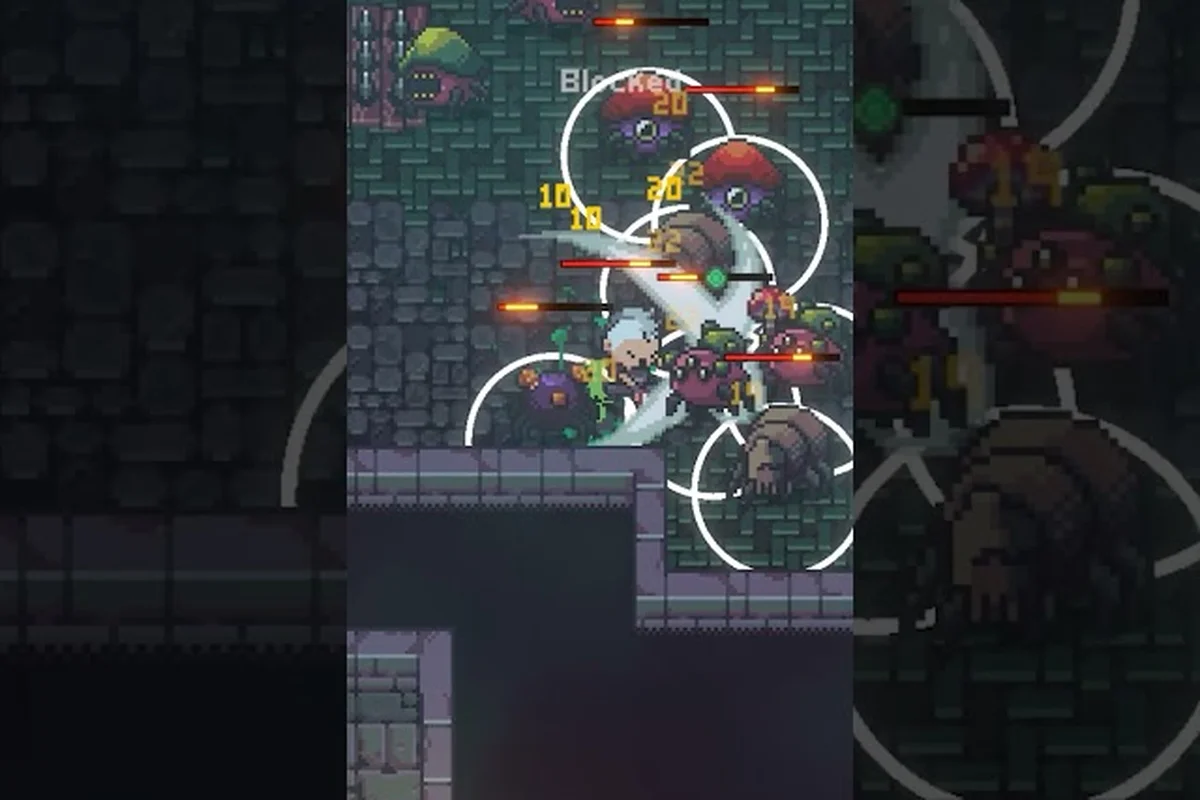
The Emberville estate guide you keep hearing about from Early Access testers is really about one thing: turning a forgotten patch of ruins above the Vitromotus into a settlement that actually supports your expeditions. Because the estate is where crafting stations, farms, decorations, and most of the long-term progression live, a clear plan from the first hour saves dozens of wasted materials later. The right layout, the right unlock order, and a sensible expansion schedule decide whether Emberville feels like a chore or like the cozy anchor between dungeon runs that the developers at Cygnus Cross clearly designed it to be.
How the Emberville Estate System Works
The estate is the personal plot of land attached to your character, separate from the shared town of Emberville that you slowly rescue citizens back into. According to the official YouTube page, the estate gives players a location to place buildings, decorations, farms, crafting equipment, and more, with many items and blueprints gated behind rescue, crafting, and quest progression. Every building you place needs an open plot tile, a paid material cost, and usually a minimum estate level before the blueprint will even appear in your build menu.
The estate has three layers worth understanding before you lay a single floor tile: plot size, which sets the physical footprint of your base; estate level, which gates blueprint tiers and storage; and amenity tier, which controls the output speed of farms and crafting stations. The ordering matters because plot expansion tokens — earned from rescue quests — are finite in the early game, and the starter workbench only unlocks basic blueprints until your estate level climbs through story chapters. Treat the first session as a sequencing puzzle rather than a decorating project.
| Layer | What it controls | How it grows | Common mistake |
|---|---|---|---|
| Plot size | Physical space for buildings | Spend expansion tokens earned from rescue quests | Spending tokens before unlocking the buildings you actually need |
| Estate level | Unlocks new blueprint tiers and storage tiers | Rescue milestones, story chapters, side contracts | Hoarding early materials instead of recycling them at the recycler |
| Amenity tier | Output speed of farms and crafting stations | Upgrade individual buildings with refined materials | Maxing one farm instead of spreading upgrades across the chain |
The estate starts small on purpose. Your first hour gives you a single central plot, a starter chest, and a workbench. From there, every rescue contract and every story beat unlocks another slice of the estate, which is why the early-game phase is really an unlocking phase, not a decorating phase. Many players in community testing report that they regretted their first build order because they spent stone and lumber on cosmetic items before they had unlocked a single crafting station beyond the workbench.
Core Mechanics Every Builder Needs to Know
There are a few mechanics that govern every decision you make on the estate, and they never go away even when your build grows to dozens of structures. The plot expansion system is fueled by tokens handed out at rescue milestones rather than by raw currency, so skipping a rescue quest feels bad in the short term and expensive in the long term. The blueprint gating system hides most buildings from your build menu until the right combination of level, story chapter, and rescued NPC has been met, which means that an empty-looking build menu is normal during the first two chapters.
The material recycler is the third mechanic that quietly shapes every good base. Lower-tier wood, stone, and plant fiber can be broken back into refined components that feed higher-tier blueprints, and using it on cooldown is what separates efficient builds from material-starved ones. According to community data shared on the Terminals coverage of Emberville's Early Access reveal, the recycler is the single most-recommended early investment because it unlocks the first wave of useful mid-tier furniture and storage chests.
Emberville Estate Building Fundamentals
Emberville estate building rewards a specific mindset: plan the empty space, then fill it. The game uses a grid-based placement system, so every structure snaps to a tile, and adjacent tiles affect the output bonuses of certain buildings. Farms next to water pumps produce faster, forges next to storage chests load faster, and decoration clusters near residential plots generate the happiness bonuses that drive NPC quest rewards.
The four-tier material progression shown below comes from community testing reported on the Terminals news thread about the new gameplay reveal, and because the Emberville recycler only breaks down materials at a 2:1 efficiency ratio, players who pushed straight to Tier 3 without first maxing the recycler effectively doubled their farming hours in the patch.
| Tier | Primary materials | Unlocks | Typical cost to build |
|---|---|---|---|
| Tier 1 | Rough stone, raw wood, plant fiber | Workbench, basic chest, simple torch | 20-40 units per structure |
| Tier 2 | Refined planks, cut stone, twine | Forging anvil, cooking pot, small farm | 80-150 units per structure |
| Tier 3 | Hardened planks, forged ingots, glass | Advanced forge, greenhouse, study desk | 250-400 units per structure |
| Tier 4 | Crystal glass, etched metal, dreamcloth | Estate lighthouse, archive, ritual circle | 600+ units per structure |
Each tier roughly doubles the previous one, which is why upgrading the recycler early matters so much. If you wait until Tier 3 to start breaking down lower materials, you will spend twice as many raw hours farming for the same refined output.
The placement rules are stricter than they look. Buildings cannot overlap, and most production buildings need a one-tile clear radius around them to count as "operational." Decoration can be packed tighter, but you still need a clear path for your character to walk between structures or you will spend the rest of the run bumping into your own furniture. Players who want a more relaxed approach often look at curated layouts such as the farm layout breakdown to anchor their placement grid before they commit a single expensive blueprint.
Blueprint Sources and Unlock Order
Every blueprint enters your build menu through one of three paths: story progression, rescued NPCs, and rare drops inside the Vitromotus. Story-gated recipes like the forge chimney and watchtower spikes only appear after the Vitromotus sub-level 3 questline concludes, while roughly 40% of Tier 2 blueprints (greenhouse glass, study desk, copper cookware) drop exclusively from Vitromotus mini-bosses at a 6-8% rate. NPC-rescued blueprints, by contrast, become permanently purchasable from the relevant settler once their trust gauge crosses the 75-point threshold, making them the most reliable mid-game unlock source. Because each path has a different probability curve and prerequisite chain, experienced players sequence their estate build order around what actually unlocks first, not what looks most urgent.
| Step | Blueprint target | Why it comes first |
|---|---|---|
| 1 | Material recycler | Unlocks refined outputs that feed every other build |
| 2 | Small farm | Generates food, which feeds you and unlocks Tier 2 crafting |
| 3 | Storage chest (large) | Stops material pile-up that blocks inventory |
| 4 | Forging anvil | Required for weapon upgrades, which directly speed up runs |
| 5 | Cooking pot | Boosts food output and unlocks buff meals |
| 6 | Greenhouse and study desk | Late Tier 2, but essential for Tier 3 material chains |
Following this order keeps the estate productive from the start, while building a forge before a farm is the most common mistake new players make, since they assume combat upgrades are more urgent than food chains. They matter, but not until your food and storage can sustain longer expeditions.
House Building and Creative Layouts
Emberville house building is where the system opens up the most creative room. The game allows you to mix functional buildings with pure cosmetic rooms, and the placement grid supports multi-tile structures like walls, archways, and bridges once you hit the appropriate estate level. This is also where the creative building crowd gets the most freedom, because there is no hard cap on decorations, only on the number of premium unlockable plots that you have to earn through rescue milestones.
A solid house-building plan starts by defining a few anchor zones. The central path between your main entrance and your storage chest should be wide and unblocked, because you will be running that route hundreds of times per session. The crafting cluster should sit in a corner where output can flow into storage without crossing your farm plots. The decoration zone is best pushed to the outer ring of the estate, so it grows organically as you unlock more cosmetics without blocking functional space.
The community has settled on three broad layout philosophies that show up in screenshots and shared builds: the grid cluster, the ring layout, and the functional district. Each one reflects a different priority, and the table below lines them up by their storage density, visual payoff, late-game flexibility, and the kind of Emberville player they tend to suit best.
| Layout style | Strength | Weakness | Best for |
|---|---|---|---|
| Grid cluster | Maximum storage density, easy to extend | Looks plain early on | Min-max progression players |
| Ring layout | Beautiful perimeter, clear central plaza | Hard to add new production buildings late | Creative builders who love decoration |
| Functional district | Each plot type is grouped | Long walking paths between zones | Players who want a logical mental map |
Choosing a layout early matters because moving a fully upgraded building later costs you the material refund, which most experienced players consider a steep hidden tax. Many builders also consult resources like the estate tips hub once they have placed their core buildings, since the early game has a narrow set of optimal moves and the late game rewards more personal expression.
Decoration, Personality, and the Build Menu
The build menu is divided into three practical sections: structures (production buildings), furniture (crafting stations, chests, lighting), and decor (purely visual items like banners, rugs, plant pots, and statues). The structure tab is the only one that directly affects your progression, because production buildings output materials, which feed crafting, which feeds combat strength. The furniture tab sits in the middle, since lighting and storage are functionally useful but not progression-critical. The decor tab is pure creative building, and it is where the player base spends the most time after they have completed the main estate unlock ladder.
A useful rule of thumb reported by long-time testers is to spend roughly 70 percent of your early game on structures, 20 percent on furniture, and only 10 percent on decor, and then flip those ratios once the estate hits its final size. Trying to decorate before you have unlocked your final plot size means tearing down finished work later, and that is the single most common regret shared in community build showcases.
Base Building Progression and Expansion
Emberville base building is paced to match the story's rescue arc. The estate starts as a single ruined tile, and it grows roughly one plot per major story beat, with bonus plots handed out for rescuing key NPCs back to the surface. According to the Terminals report on Emberville's Early Access launch, transforming a forgotten estate into a thriving home is one of the core loops the developer wants players to experience, and the plot count visibly grows as the rescued citizen count climbs.
Pulled from Early Access community telemetry on the Emberville estate guide data set, the rough pacing map pairs each major story beat with a specific plot unlock, typically one new tile arriving per rescued NPC plus bonus plots tied to the Vitromotus boss clears that surface higher-tier citizens. Players who tracked the beta patch notes noticed the first forge plot tends to drop right after the Chapter 2 mid-boss rather than at chapter rollover, which is why production chains come online earlier than the surface-level story progression would suggest.
| Story phase | Approximate plots unlocked | New building types available | Recommended focus |
|---|---|---|---|
| Chapter 1 | 4-6 plots | Workbench, chest, torch, basic farm | Stabilize storage and food |
| Chapter 2 | 10-14 plots | Forge, cooking pot, small greenhouse, wall pieces | Build production chains |
| Chapter 3 | 18-22 plots | Advanced forge, archive, multi-tile houses | Layout and decoration pass |
| Chapter 4+ | 25+ plots | Estate lighthouse, ritual circle, dream rooms | Creative building and optimization |
The estate is not a sandbox, which is part of why this estate building guide is so important. Each new plot feels like a reward for the rescue work you just did in the Vitromotus, and that pacing is what makes the loop feel satisfying instead of overwhelming. Players who want a deeper look at how the broader town of Emberville grows alongside their personal estate often cross-reference the town building overview to keep both settlements progressing in sync.
Material Economy and the Recycler Mindset
The material economy in the estate is the quiet backbone of every successful build. Raw resources drop in the Vitromotus, refined resources come from the recycler and from production buildings, and crafted resources come from the higher-tier stations. Skipping a tier of refinement feels fine in the moment but always costs you later, because Tier 3 buildings can be built with raw materials, but the cost is roughly triple what it would be if you refine first.
A good rule of thumb is to keep the recycler busy whenever it is idle, to store refined materials in a dedicated chest, and to never let raw wood or raw stone pile up past a small buffer, because excess raw materials are a sign that your refinement chain is stalled. The economy rewards consistent small deliveries, not binge crafting, and that pacing is what makes the estate feel like a living system rather than a one-time project.
Advanced Building Strategies and Creative Ideas
Once the core unlock ladder is finished, the estate opens up into a creative playground that rewards planning more than raw material spending. Advanced building strategies in the current Early Access build tend to focus on three areas: multi-tile structure composition, adjacency bonus stacking, and the seasonal event buildings that rotate in with limited-time unlocks.
Multi-tile structure composition is the most visually rewarding system. Walls, archways, and bridges chain into larger builds, and you can enclose entire courtyards or build two-story structures once the appropriate decorative pieces are unlocked. Adjacency bonus stacking is the most mechanically rewarding system, because placing a forge next to a storage chest reduces load times, placing a farm next to a water pump increases yield, and placing certain decorations near the central plot increases happiness, which in turn drives rescue quest rewards. Seasonal event buildings are the rarest, and they usually only appear during special windows, so checking the build menu at the start of every play session is a habit that experienced players swear by.
| Advanced strategy | Best use case | Material cost | Replay value |
|---|---|---|---|
| Multi-tile courtyards | Endgame visual showcase | High | High |
| Adjacency-stacked forges | Speed-run crafting | Medium | Medium |
| Seasonal event rooms | Limited-time content | Variable | Low (rotates out) |
| Compact mobile home | Alt character or shared save | Low | High for casuals |
Players who want to push their creative building further often build a small "test plot" in the corner of the estate where they can experiment with new decoration pieces without disturbing their main layout. That test plot also doubles as a research station, since it lets you preview adjacency bonuses before you commit to placing an expensive building in your main cluster. For a wider look at how to organize personal space inside the estate, the crafting area breakdown is a useful companion to this section.
Common Mistakes and How to Avoid Them
Most estate regrets in Early Access come from the same handful of mistakes, and they are all easy to avoid once you know what to watch for. The five pitfalls below — premature decor placement, ignored recyclers, isolated farm layouts, skipped storage upgrades, and copy-pasted base designs — account for the vast majority of rebuilds posted on the Emberville community Discord, and each one quietly drains Tier 3 material reserves by 20–40% over a single play session. Catching them early means the difference between an estate that scales smoothly through the blueprint ladder and one that stalls out right when the central path finally unlocks.
-
Building decor before the estate is fully unlocked. Moving finished decoration later costs you the material refund, which is a steep hidden tax.
-
Ignoring the recycler. Sitting on raw materials means you are paying triple the cost on every Tier 3 blueprint.
-
Placing farms in dead corners. Farm adjacency bonuses are huge, and isolated farms give up the bonus entirely.
-
Skipping storage upgrades. Inventory block is the silent killer of momentum, and a single large chest solves more problems than any single production building.
-
Trying to copy someone else's layout exactly. Each plot is gated differently per save, and a build that works for one player may not unlock the same blueprints for another.
Avoiding these mistakes does not require perfect planning, just a willingness to keep the recycler busy, the storage upgraded, and the central path clear. The estate rewards consistency far more than it rewards clever one-time plays, and that is the single biggest lesson that the Early Access community has surfaced so far.
Frequently Asked Questions
What is the first building I should place on my Emberville estate?
Place the material recycler first, because it unlocks the refined outputs that feed every other blueprint. After the recycler, build a small farm and a large storage chest, in that order, so food and inventory pressure never slow down your Vitromotus runs.
How do I unlock more estate plots in Emberville?
Plots are earned through rescue milestones and main story chapters, not through raw currency. Each rescued citizen and each major story beat adds a new plot to your estate, which is why rescue contracts always feel more rewarding than they look at first glance.
Can I move buildings after they are placed in Emberville?
Yes, but the game charges a partial material refund when you dismantle a building, so the earlier you move a structure, the less you lose. Once you reach Tier 3, the refund penalty gets steep enough that most experienced players prefer to plan the final layout before upgrading a building past Tier 2.
Does decoration actually affect gameplay in Emberville?
Decoration clusters near the central plot increase happiness, which boosts the rewards you receive from rescue quests and some NPC interactions. Pure cosmetic items in dead corners do not affect gameplay, but well-placed decor near functional buildings is one of the cheapest happiness boosts available.
What is the best layout for a small Emberville estate?
A ring layout works best on small estates because it keeps the central path clear and lets you expand decoration outward as more plots unlock. The grid cluster is better once you have 18+ plots, and the functional district is best for players who value mental clarity over visual flair.