
Estate
Emberville estate guide: claim your plot, prioritise workbenches and farm plots, organise storage and decoration, and turn a personal base into a workshop that powers every expedition.
Introduction
The estate is your personal plot inside Emberville and the closest thing the game has to a creative mode. Buildings, furniture, farms and decorations can be placed and used, and the area doubles as a workshop that improves skills and crafts the gear your expeditions depend on. That dual purpose is what makes the estate worth planning rather than decorating at random. Cygnus Cross has presented it as a place where you can build, farm and craft, which means it sits at the intersection of the combat half of the game and the town-rebuilding half. Get the functional pieces right and the estate quietly smooths everything else: shorter restock cycles, cheaper preparation, fewer trips. Get them wrong and you spend your sessions walking between mismatched buildings instead of playing. The good news is that nothing here is permanent. Buildings can be moved and restructured as the town grows around you.
Estate Build Priority
| Priority | Build | Why This Order |
|---|---|---|
| 1 | Crafting station | Everything else depends on being able to make and improve gear |
| 2 | Farm plot | Turns one-off gathering into a renewable ingredient supply |
| 3 | Storage | Keeps materials within reach of the stations that consume them |
| 4 | Skill buildings | Improve skills or unlock further crafting branches |
| 5 | Furniture and decoration | The relaxing layer once the functional layout works |
Estate Priorities
Crafting Stations
The first functional building
Farm Plots
Renewable ingredients at home
Storage
Capacity and layout discipline
Decoration
Furniture, plants and personal style
Estate Progression
Buildings that change your skills
Core Mechanics
The estate operates as a small production loop. Buildings can be placed on your plot, farms can be planted and harvested, and crafting stations turn gathered and grown materials into finished items. Because Cygnus Cross describes buildings that improve skills or unlock further crafting, the estate is not purely decorative infrastructure: some structures feed directly back into progression. Layout matters more than it first appears. Distance between storage, farms and workbenches determines how much of a session disappears into walking, and the difference compounds over dozens of restock cycles. Storage capacity shapes how much material you can bank between runs, which in turn determines how long you can stay out before returning. The estate also grows with the town, because survivors you rescue change what the plot needs to hold, so treating any layout as final is a mistake the system actively corrects.
Advantages
The estate gives you a place to make progress without risk. Farming, crafting and reorganising are all productive uses of a session when you are not in the mood to fight, and they feed directly into your combat readiness rather than being pure busywork. It also centralises the logistics that would otherwise fragment across menus: your materials, stations and production all live in one space you control. Because buildings can affect skills and crafting reach, investing in the estate is a progression path in its own right and not merely cosmetic. Customisation is a genuine feature too, with furniture, plants and decorations available once the functional pieces are set. And because the plot belongs to your character rather than the town, it gives something the town loop does not: a space you shape on your own terms, at your own pace, without a quest telling you what to do next.
Challenges
The clearest problem is that the estate is easy to neglect. Because it never blocks you the way a boss does, it is the system players postpone, and the cost shows up later as long restock cycles and expensive preparation exactly when they are attempting hard content. Building also competes for materials with equipment crafting, so an over-ambitious estate can leave your combat kit underfunded. Layout mistakes are another trap: an early unplanned arrangement of storage and stations can be genuinely inefficient, and although buildings can be moved, the time spent reorganising is time not spent progressing. Finally, official detail on the estate is thinner than on combat or classes, so specific building names, costs and unlock conditions are not all public. Treat layout principles as reliable and exact numbers as provisional until the Early Access build settles.
Frequently Asked Questions
What is the estate in Emberville?+
What should I build first on my Emberville estate?+
Can I move buildings on my estate later?+
Quick Tips
Lay out the estate around movement, not around looks. Every restock cycle walks the same path between storage, farms and crafting stations, so shortening that path saves minutes every single session. Beauty is worth having, but it should be added once the functional distances are already right. Once the distances are right, decoration becomes cheap to add, because you are no longer moving functional buildings around to make room for it.
Plant something before every long expedition. Crops growing while you are away cost nothing and give you a reason to return to town, which in turn gives you a natural moment to check villager quests, restock consumables and bank materials you would otherwise be carrying. Over time that habit builds a steady rhythm of short, productive town visits instead of long restocking sessions that stall your expeditions.
Do not build every station the moment you unlock it. Each one needs materials and a supply line, and a plot full of idle workbenches with empty storage is worse than one good station with a full warehouse behind it. Grow the estate in the order your play actually demands. Build what your current play demands, then expand when a shortage actually shows up, and the estate will grow in step with your character.
Featured
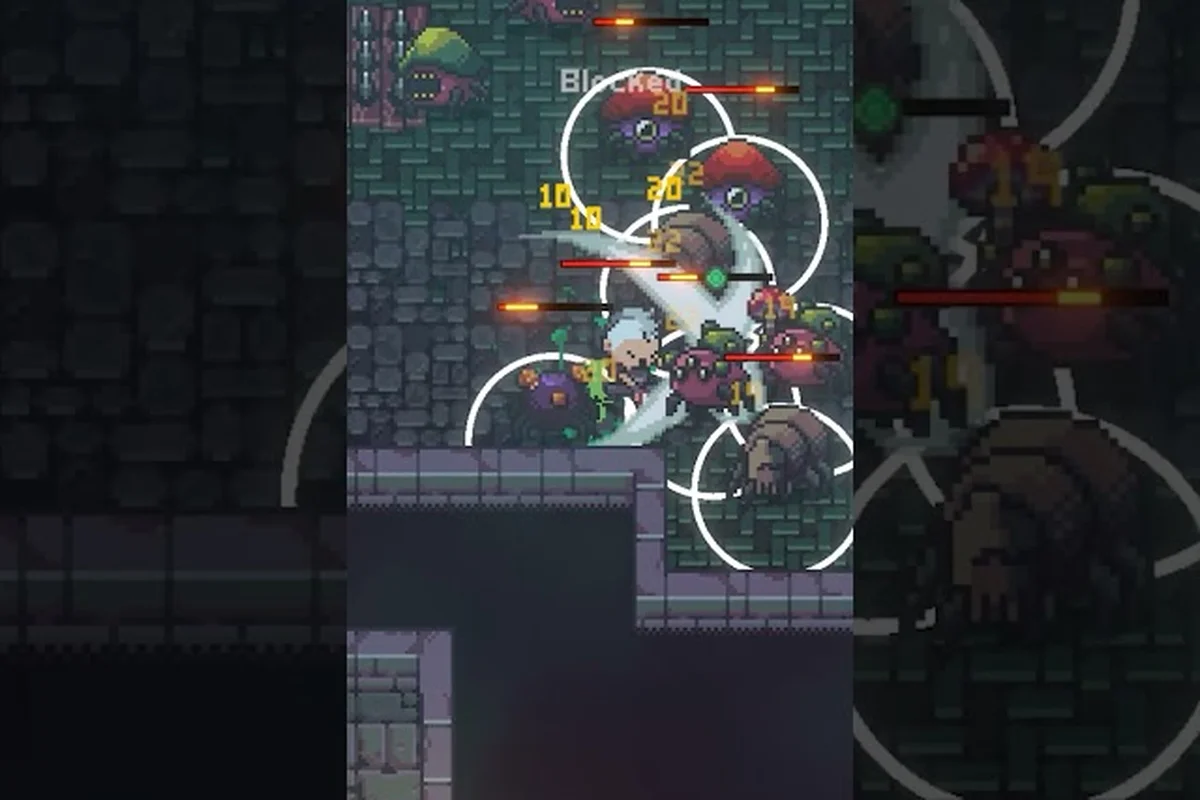
Emberville Estate Guide: Build, Expand, and Unlock Plots
Plan your perfect home base with this Emberville estate guide, covering building mechanics, plot expansion, and the unlocks that shape a creative build.
Emberville Estate Tips: Storage and Smart Upgrades
Level up your homestead with these Emberville estate tips, from chest storage tricks and plot expansion rules to design ideas that make every room count.

Emberville Town Building: Plots, Upgrades, and Residents
Rebuild the Emberville town building step by step, from laying the first plot to unlocking upgrades, placing key buildings, and bringing rescued citizens back home.
All Articles
Emberville Building Area: Base Design and Decoration
Shape your Emberville building area with smart base designs, furniture picks, and decoration tips that make every room feel lived-in and functional.

Emberville Crafting Area: Workbench, Storage, and Layout Tips
Design an efficient Emberville crafting area with smart workbench placement, sorted storage, and a personal space layout that keeps every tool ready.

Emberville Estate Ideas: Cozy Layouts and Smart Design Tips
Browse creative Emberville estate ideas for cozy layouts, smart building tips, and decoration choices that turn a basic plot into a standout home base.
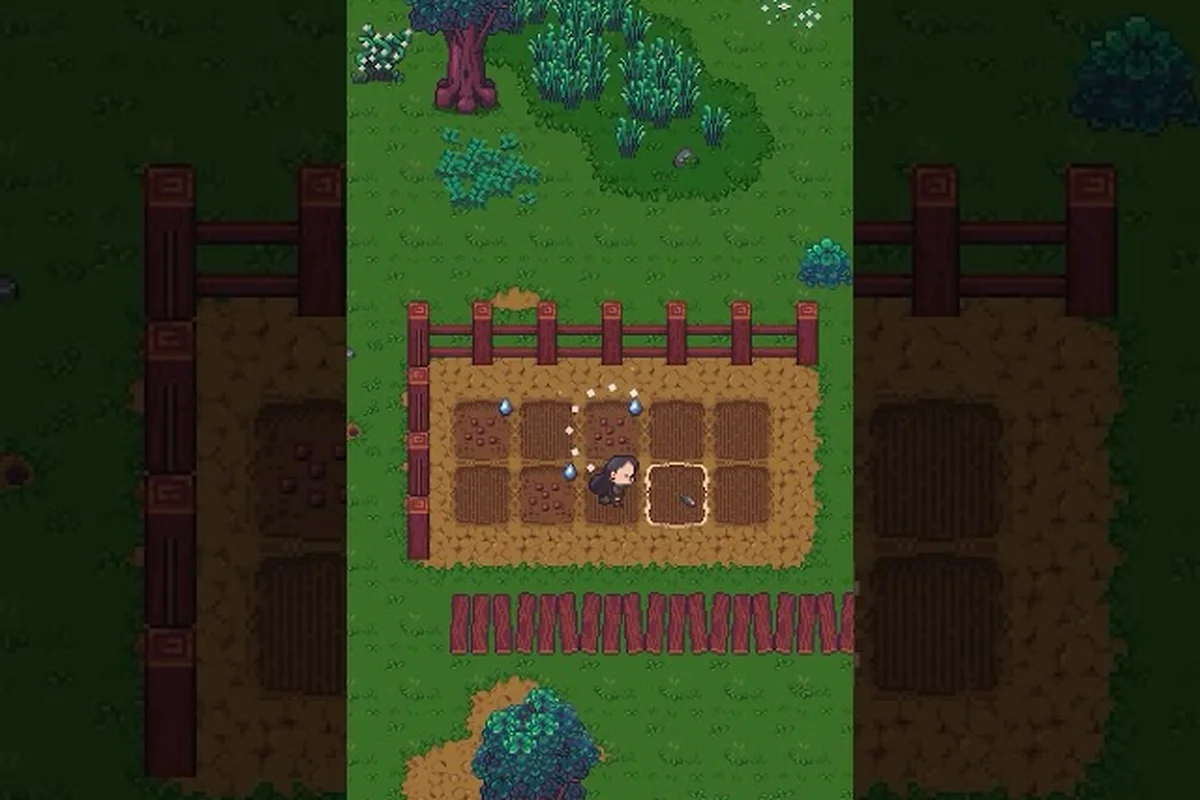
Emberville Farm Layout: Plots, Upgrades, and Buildings
Design a high-yield Emberville farm layout with the best building placements, estate upgrade paths, and plot unlocks that keep production flowing year-round.