
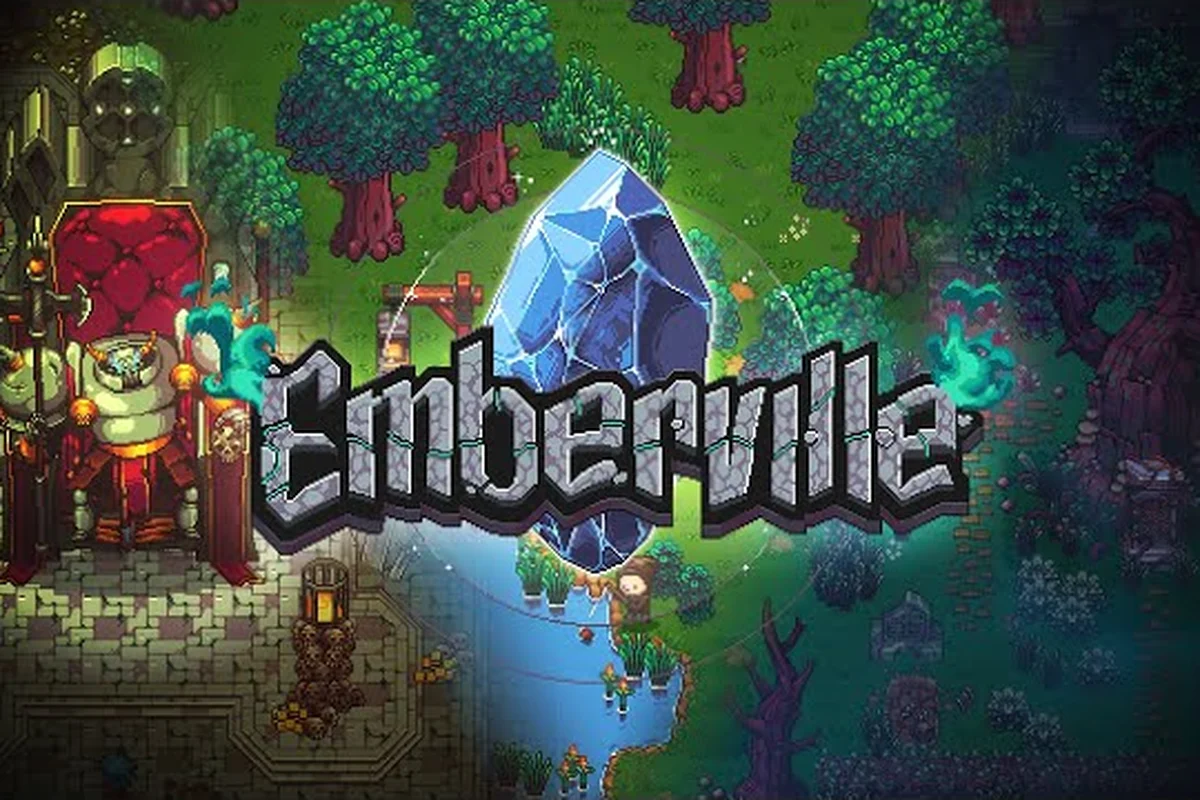
You wake up in a dark, unfamiliar place, your inventory is empty, and the only NPC who seems to know your name is a quiet companion who points you toward something called Emberville. That opening minute sets the tone for the entire game: Cygnus Cross's action RPG drops you straight into the Vitromotus, a living underground dungeon where every expedition shapes the ruined town waiting above. The Emberville getting started experience is built around a tight prologue loop, so learning the opening moves well saves you hours of trial-and-error in the first hour.
This Emberville new player guide walks through the prologue beat-by-beat: the keyboard controls you will rely on for the entire run, the first safe rooms to scout, the combat windows that decide whether you keep your starter gear, and the moment you actually unlock the first town. Every recommendation below is grounded in mechanics confirmed on the Discord community and reporting from Terminals, the game's publisher outlet.
Waking Up in the Vitromotus: The First Ten Minutes
Your first ten minutes in Emberville are intentionally bare. There is no class select screen, no inventory overflow, and no quest log waiting to be opened. According to the official Steam listing, you spawn inside the Vitromotus "with no memories," and the game treats that amnesia as a teaching device: every system you need during the first hour is introduced at the moment it becomes relevant. Veteran players who tested the Early Access build at GCX 2025 reported that the prologue is paced so that each new room either teaches a movement skill, a combat input, or an inventory action before throwing a small fight your way.
The first room is a tutorial corridor, not a fight. Pick up the lantern on the floor and follow the only path forward. Your companion will speak, the camera will pan to a torch, and the first enemy (a slow, telegraphing crawler) will appear within thirty seconds. Do not try to fight it head-on your first time through: the safest opener is to dodge-roll past the crawler, hit it once from behind, and keep moving toward the glowing door that marks the next room.
Core Movement and Keyboard Controls You Will Use Every Hour
The Emberville keyboard controls are deliberately compact. According to community data collected during the GCX demo and confirmed on the publisher's Terminals page, the default bindings are listed below. Rebinding is allowed in the settings menu, but most early players stick with the defaults because every menu in the game is written against this layout.
| Action | Default Key | First-Hour Use |
|---|---|---|
| Move | WASD | Base exploration; never let go of W |
| Dodge Roll | Space | First defensive tool; learn the i-frames early |
| Light Attack | Left Mouse Button | Main damage source with starter weapon |
| Heavy Attack | Right Mouse Button | Opens enemy stuns, costs stamina |
| Block | Shift | Hold when an enemy winds up a heavy strike |
| Use Item | R | Healing potion and throwable consumables |
| Interact | E | Pick up loot, talk to companion, open doors |
| Open Map | M | Vitromotus floor map and fast-travel nodes |
| Open Inventory | I | Equipment and class swap |
| Open Skills | K | Class levels and inherited skill tree |
Stamina governs dodge, block, and heavy attacks. If you spam heavy attacks in the prologue, you will run dry and the first crawler will combo you down. Treat stamina as a resource on a meter, not as a button you mash, and the rest of the early combat will feel fair.
What the Companion Actually Does for You
Your loyal companion is not a follower you can lose. According to the official publisher description on Terminals, the companion is a "mysterious and loyal friend" who guides you through the Vitromotus while you rescue citizens for the town. Mechanically, the companion does three things in the first hour: leads you to the next objective marker, marks dangerous enemies with a red outline when you hold Shift, and offers a single dialogue prompt per room that hints at the secret exits you will want later.
Players who skip the companion's dialogue on a first run frequently report missing the first hidden side-room, which contains the early-game weapon the developers intended as your test weapon for the weapon-bound combo system. Talk to the companion whenever a ! appears above their head, especially in the prologue.
The Prologue Loop: Floor 1 Combat and Loot Rules
Emberville is a procedurally generated dungeon crawler, but the first three floors of the prologue are seeded. That is good news for the Emberville first hour: the loot you find, the chests you can open, and the enemy spawns are consistent enough that community testers have mapped the safe path. According to the Terminals gameplay report, Emberville uses a two-button combat system layered on top of a weapon-bound combo system, so understanding the first weapon you pick up will teach you the rhythm the rest of the game expects.
Starter Weapons and Why the First Pick Matters
The first weapon you equip is the one you will use for roughly the first two hours, because weapon-bound combos only unlock as you level the matching class. Pick up the first short sword you see in the prologue chest. Do not hoard it for a "better" weapon later. The weapon-bound combo system, as described in the Terminals gameplay report on Emberville's two-button combat, rewards chaining light and heavy attacks in the correct order for that specific weapon. The starter short sword has the simplest chain in the game, and that simplicity is the point.
| Starter Weapon | Light→Heavy Chain | Stamina Cost | When to Swap |
|---|---|---|---|
| Short Sword | L L H | Low | After unlocking the second class |
| Wooden Staff | L H L | Medium | If you prefer ranged poke |
| Hand Axe | H L L | High | When you have stamina gear |
The short sword is the recommended first weapon because its combo window is the most forgiving, and its stamina cost is the lowest, so you can still dodge roll out of trouble. If you do swap to the staff or the axe, expect to spend a few extra deaths learning the rhythm.
The Safe Path Through the First Three Rooms
The prologue has a small set of repeating room templates. The safe path is to clear each room of crawlers before opening the next door, because the crawlers do not leash back to their starting tile once you leave. The room types you will encounter are: a small square room with two crawlers and a chest, a longer corridor with a single heavy crawler and no chest, and a hub room that branches into a side path and a main path. Always clear the main path first, then backtrack to the side path, because the side path chest is the source of your first piece of class XP.
| Room Type | Enemies | Loot Reward | Recommended Action |
|---|---|---|---|
| Small Square | 2 crawlers | 1 chest (weapon or potion) | Clear, then open chest |
| Corridor | 1 heavy crawler | None | Dodge roll, hit once, move on |
| Hub Branch | 2–3 crawlers | Side chest has class XP | Clear main, backtrack for chest |
If a crawler drops a potion, pick it up. Potions are the only reliable healing source in the prologue, and the first town does not have a vendor for the first two missions. The Emberville what to do first rule is simple: loot every chest, drink every potion only when your health is below half, and never skip the side path.
Reaching Emberville: The First Town and What to Do Inside
After clearing the third prologue room, the companion will mark a glowing staircase. This is the first town transition, and it is the moment the game shifts from a tight dungeon crawl into the settlement loop. The town hub, Emberville, is the location you will return to between expeditions, and it is where most of the "what to do first" decisions after the prologue are actually made.
The Town Hub and Your First Building Choices
Emberville is the ruined estate you will rebuild over the course of Early Access. According to the official Steam description, the town grows as you rescue survivors and place buildings, decorations, farms, and crafting equipment. The first building you place determines which crafting station you can use, and each crafting station unlocks a different tier of gear.
| First Building | Unlocks | Best Early Use |
|---|---|---|
| Workbench | Basic weapon upgrades | Upgrade the short sword to +1 |
| Alchemy Bench | Potions and throwables | Stack healing potions before the next run |
| Farm | Food buffs (regen over time) | Plant one crop before the second expedition |
| Storage Chest | Extra inventory slots | Useful if you hoard materials |
Place the Workbench first. The +1 weapon upgrade you craft at the Workbench will carry you through the next two dungeon floors, while the Alchemy Bench's potions can be bought in town once you rescue your first villager. Farms sound appealing, but crops take real time to grow, and the second expedition is closer than the first harvest.
Talking to Your First Villager and Unlocking the Class Tree
After the Workbench is placed, return to the dungeon. The companion will mark a new side room that contains the first villager you can rescue. According to the Terminals gameplay report, Emberville's class system is inherited: each rescued villager corresponds to a class, and leveling that class unlocks skills you can slot into your active combat class. The first villager you save unlocks the Militia class, which is the simplest class in the game and the one the developers use to teach the inherited skill system.
Once the villager is back in town, talk to them, accept the class quest, and slot your first skill point into the Power Strike passive. Power Strike buffs the heavy attack, which is the opener for most early-game combos. The next skill point should go into Stamina Recovery, because stamina is the real gate on progression in the first five hours.
Players who want a deeper breakdown of which class to invest in first can cross-reference the Emberville power spike and upgrade priority build guide, which covers the same inherited skill system from the build-optimization side. The Emberville new player guide and the upgrade priority guide are written to be complementary, not redundant.
Your Second Expedition: The Vitromotus Beyond the Prologue
Once you have rescued your first villager, upgraded your short sword, and stocked at least two healing potions, the game opens the second expedition marker. This is the moment the procedural generation kicks in, and the safe path through the prologue no longer applies. The Emberville first hour is over, and the first real dungeon run begins.
Reading Floor Maps and Avoiding the Reset Floor
Press M to open the Vitromotus map. Each floor has a fast-travel node at the entrance and one at the exit, but only the entrance node is active on the first visit. According to community testing, the third floor of every dungeon has a hidden reset mechanic: if you die on floor three, the floor three layout is rerolled, but the chests on floor one and two stay the same. Plan to clear loot on floors one and two before pushing into floor three, because floor three is the floor where most new players lose their first full kit.
| Floor | Difficulty Spike | Loot Quality | Reset on Death? |
|---|---|---|---|
| Floor 1 | Low | Starter gear | No |
| Floor 2 | Medium | Mid-tier gear | No |
| Floor 3 | High | Rare gear | Yes, layout rerolls |
| Boss Floor | Very High | Class XP and relic | Yes, full expedition resets |
The reset rule is the single most important Emberville what to do first rule for expeditions. Push deep, but never push so deep that a single death erases two hours of progress. The companion will mark an emergency exit on floor three once per expedition, and that exit is the difference between losing ten minutes and losing the whole run.
When to Use the Companion's Danger Ping
Hold Shift while aiming at an enemy to trigger the companion's red outline ping. This is the same key as Block, so the ping only works when you are not actively blocking. In the prologue, the ping is mostly a tutorial; in the second expedition, the ping is mandatory. Heavy enemies glow red for one second before they wind up a grab, and the grab cannot be blocked, only dodged. If you ignore the ping on floor three, the grab will one-shot you regardless of gear.
Frequently Asked Questions
How long is the Emberville prologue before the first town?
The prologue takes most players 30 to 45 minutes on a first run, depending on how much they explore side paths. Speedrunners using community-tested routes can clear it in under 20 minutes, but the recommended Emberville first hour pace is to clear every chest and rescue the first villager before pushing the second expedition marker. The prologue is short by design because Early Access focuses on the settlement loop, not the dungeon.
What is the best starter class in Emberville?
The first class you unlock, Militia, is the best starter class because its skill tree is the simplest and it pairs with the short sword you find in the prologue. Unlock Militia first, then spend your first five skill points on Power Strike, Stamina Recovery, and the weapon-bound combo passive for short swords. Once Militia is level 5, you can branch into a second class without losing your Militia passives, and the inherited skill system carries those bonuses forward.
Can I rebind the Emberville keyboard controls?
Yes. The settings menu supports full key rebinding for all movement, combat, and menu inputs. Most early players keep the defaults because the tutorial UI is written against the WASD layout, but left-handed players commonly rebind the dodge roll from Space to Left Alt. If you rebind, test the new layout in the prologue before committing to a long expedition, because the companion's danger ping still triggers on the Block key by default.
Do I lose my town buildings if I die in the Vitromotus?
No. Town buildings, placed decorations, and rescued villagers are saved to your Emberville profile and are never lost on dungeon death. Only the expedition loot and floor progress reset. This is why the recommended Emberville what to do first priority is the town loop: place the Workbench, rescue the first villager, and use the crafting station before pushing deep into the Vitromotus. The town is your permanent save; the dungeon is the temporary run.
Where can I find a deeper guide to Emberville's first boss?
After the second expedition, the first boss is unlocked on the boss floor of the Vitromotus. The boss has a telegraphed grab that can be dodged, and the safest opener is to bait the grab, dodge roll through it, and punish with a full light-heavy-light chain. For a full breakdown of boss patterns, parry windows, and the recommended gear loadout, the Emberville boss fight and dodge guide covers the first three bosses in detail. Cross-reference it once you reach floor three of your second expedition.