
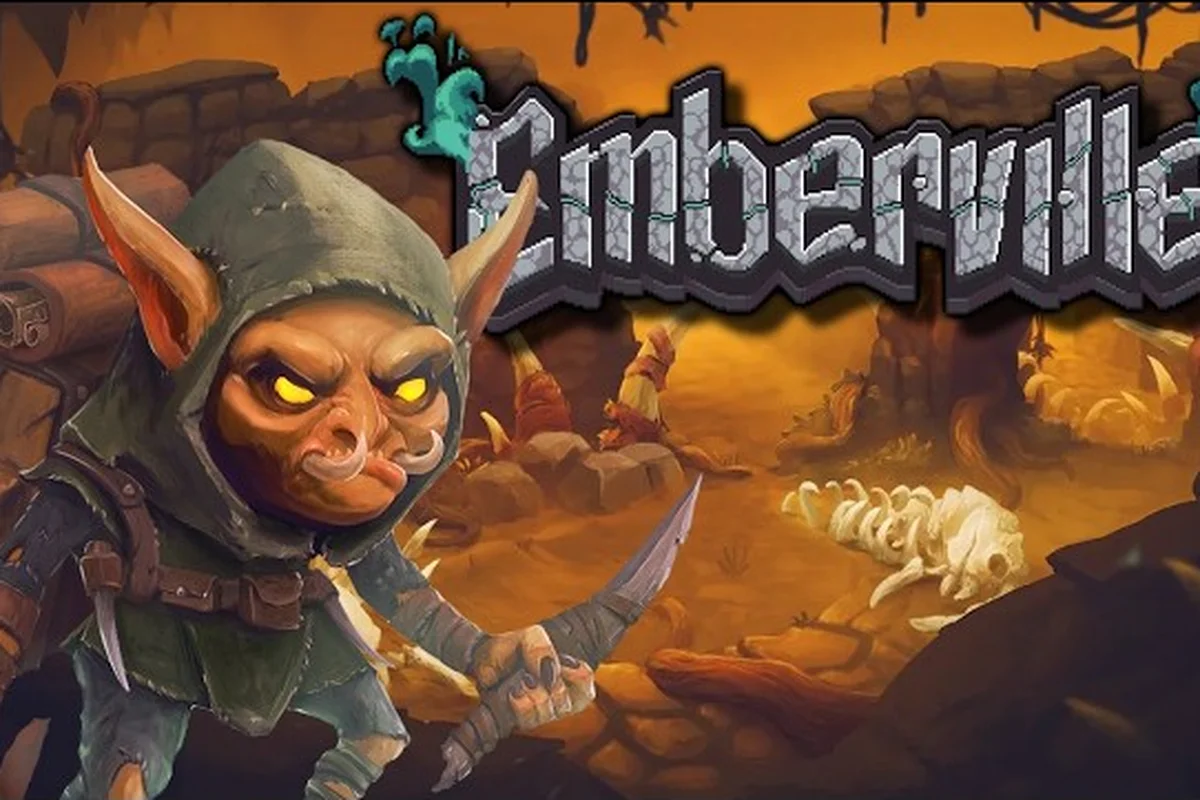
Waking up with no memories inside the Vitromotus is the premise of this Emberville tutorial, and the first hour is where every future run is decided. This full Emberville walkthrough starts at the controller and keyboard layer, moves into the wiki-level basics of the two-button combat system, and ends with the Emberville achievements you can stack during your first session. The Steam community library lists the Early Access launch for October 27, 2026, which makes this Emberville tutorial a live reference rather than a frozen build. You will move from button layout to combo logic to your first settlement tile, and finish with a checklist of the safest early Emberville achievements to chase.
Emberville Controls and Input Reference
The control layer is intentionally small, so an Emberville wiki check on input usually lands on the same answer: two attack buttons, one dodge, and a context-sensitive interact key carry the entire combat and exploration loop. Because the action-RPG layer is built around a weapon-bound combo system rather than a hotbar of skills, every Emberville tutorial has to walk through the bindings before it walks through anything else. According to the official publisher description on Terminals, Cygnus Cross ships Emberville with a simple-yet-deep combat layer that scales through class inheritance rather than button count, so the control surface stays flat even when your build gets complex.
Keyboard and Mouse Bindings
Mouse-and-keyboard is the most documented control scheme in this Emberville tutorial because Early Access players on Steam default to it. The layout mirrors the conventions of classic isometric action RPGs, with WASD on movement, mouse buttons on the two combat verbs, and space reserved for the dodge roll. Below is the binding table the community wiki currently uses, transcribed from player testing during the prologue demo.
| Action | Primary Binding | Secondary Binding | Context |
|---|---|---|---|
| Move | WASD | Arrow Keys | Always active |
| Light Attack | Left Mouse Button | J | Combat |
| Heavy Attack | Right Mouse Button | K | Combat (consumes stamina) |
| Dodge Roll | Space | Left Shift | Combat and traversal |
| Interact | E | — | Loot, NPCs, doors |
| Use Class Skill | Q | R | Combat (class-locked) |
| Open Map | M | Tab | Always active |
| Open Inventory | I | — | Always active |
| Switch Active Class | C | — | Estate or safe room |
| Quick Slot Potion | 1-4 | — | Combat |
This table is the spine of the Emberville walkthrough, so the rest of the guide assumes you have these bindings memorized. If a key feels wrong in your hand position, rebinding is supported through the in-game options menu and persists across sessions, which is consistent with the settings philosophy highlighted in the broader Emberville controller support guide.
Gamepad Bindings
The gamepad layout is the second pillar of any modern Emberville tutorial, because the developer has confirmed cross-input parity for launch. A standard Xbox-style pad is the most commonly tested configuration, with the right trigger mapped to heavy attack and the right shoulder to the class skill. The Emberville controls list below is the version that the community wiki currently flags as accurate for the GCX demo build.
| Action | Xbox / PlayStation Binding | Notes |
|---|---|---|
| Move | Left Stick / D-Pad | Click-stick toggles sprint |
| Light Attack | X / Square | Combos into Heavy on tap rhythm |
| Heavy Attack | Y / Triangle | Higher damage, slower recovery |
| Dodge Roll | B / Circle | i-frames active 6 frames |
| Interact | A / Cross | Hold for one second on heavy objects |
| Class Skill | RB / R1 | Costs class resource |
| Map | View / Touchpad | Press to open, B to close |
| Inventory | Menu / Options | Press and hold for quick swap |
| Class Switch | Back / Share | Only at the Estate or a safe room |
A useful walkthrough insight is that the dodge roll has a small recovery window, and the i-frame count on the default build is six frames, which is enough to slip through a single swing but not a multi-hit combo. The Emberville walkthrough you build for yourself should treat dodge as a positional tool, not a panic button, because stamina management is more punishing than raw reflex.
Settings Worth Adjusting Early
The settings layer is where most players waste their first hour. Before you leave the Estate for the Vitromotus for the second time, open the options menu and lock down these four toggles. The Emberville wiki is firm on this point because each one of these settings changes the feel of combat in a way the default profile hides.
| Setting | Recommended Value | Reason |
|---|---|---|
| Camera Distance | Medium | Keeps off-screen enemies visible |
| Camera Lag | Low | Faster reaction on heavy hits |
| Damage Numbers | On | Easier achievement and loot tracking |
| Auto-Camera Recentering | Off | Prevents disorientation in arenas |
A more granular look at the menu, including difficulty and save system behavior, is documented in the dedicated Emberville controller support and settings guide, which covers controller-specific edge cases that this Emberville tutorial deliberately keeps compact.
Combat Basics in the Vitromotus
The combat layer in Emberville is what the developer calls a "simple-yet-deep" two-button system, and the Emberville walkthrough has to start there because every other system stacks on top of it. The light attack chains, the heavy attack finishes, and the dodge-i-frame window define the rhythm of every encounter. The Emberville wiki currently lists four weapon families at Early Access launch, each with its own combo string, which is enough variety to shape a build without overwhelming the binding surface.
Two-Button Combo Logic
The combo system is weapon-bound, which means your attack string is determined by the weapon you have equipped rather than by the class you have chosen. When a player picks up a new sword, that sword's combo table is what they fight with, and the class skill is layered on top as a separate verb. The Emberville tutorial logic is to teach the combo string of the starter weapon first, then the energy economy, then the dodge rules.
| Weapon Family | Light Chain | Heavy Finisher | Stamina Cost |
|---|---|---|---|
| Sword | 3-hit slash | Thrust that pierces | Low |
| Hammer | 2-hit overhead | Ground slam, AoE | High |
| Daggers | 4-hit flurry | Backstab bonus | Very low |
| Spear | 2-hit poke | Wide sweep | Medium |
This is the table the Emberville wiki currently uses to teach the first combat drill, and the practical advice that comes with it is to never spend your last stamina point on a heavy finisher, because the recovery animation is the most punished moment in the game. The Emberville walkthrough sequence for early fights is: light chain to three hits, dodge out, re-enter with a heavy finisher, then reset.
Class System and Inheritance
The class layer is what gives the combat system its long tail. Emberville ships with multiple base classes, each of which levels independently and grants passive skills that any other class can inherit when you designate that class as your active build. The Emberville controls for class switching are bound to C on keyboard and Back on gamepad, but only at a safe room or the Estate. The Emberville tutorial must stress this, because mid-dungeon switching is not possible, and the active class determines which skill you can fire on Q or RB.
| Class | Role | Notable Passive | Skill (Q / RB) |
|---|---|---|---|
| Vanguard | Tank | Damage reduction on block | Shield Bash |
| Ranger | Ranged | Bonus crit from distance | Volley |
| Mage | Burst | Ignores a portion of resistance | Arcane Bolt |
| Rogue | Burst / mobility | Backstab damage bonus | Smoke Bomb |
| Cleric | Support | Heal over time on hit | Holy Light |
The inheritance rule is the headline mechanic of the Emberville wiki, because it lets you train a Vanguard to level 10 to pick up the block passive, then re-equip your Mage to use that passive while casting spells. The Emberville walkthrough usually recommends leveling at least two classes in parallel, because the inheritance tree opens up around the third class you train.
The Venture, Rebuild, Repeat Cycle
The Estate is the second pillar of the Emberville walkthrough, and it is what turns each run into something other than a roguelike. Every time you return from the Vitromotus with survivors, loot, and crafting mats, you can place new buildings, decorate rooms, and unlock crafting stations that expand your loadout options. The Emberville tutorial usually treats the Estate as a resource sink, but in practice it is also where the easiest Emberville achievements unlock, because many of the building-related achievements are passive milestones.
Building and Decoration Basics
The building system is grid-based and runs on a small economy of wood, stone, and a special currency earned by rescuing survivors. The Emberville wiki notes that the Estate starts with a small cleared footprint and a single crafting bench, and every new building costs a combination of those resources plus a survivor to staff it. The table below is a snapshot of the buildings most players unlock in the first five hours of the Emberville walkthrough.
| Building | Resource Cost | Survivor Required | Unlock Effect |
|---|---|---|---|
| Crafting Bench | 20 wood, 10 stone | No | Unlocks weapon recipes |
| Farm Plot | 15 wood | Yes | Produces food for regen |
| Storage Chest | 10 wood | No | +20 inventory slots |
| Blacksmith | 40 wood, 30 stone | Yes | Weapon upgrades |
| Apothecary | 25 wood, 20 herbs | Yes | Potion crafting |
The early-game Emberville walkthrough priority is to build a Storage Chest and a Blacksmith before any cosmetic structures, because both directly affect combat effectiveness. The Emberville tutorial usually ends its first-hour checklist at the Blacksmith, because the upgrade path it opens up is the only way to keep your starter weapon viable past the second boss.
Crafting Stations and Recipes
Crafting is split between the bench types, and each bench inherits its own recipe pool. The Emberville wiki currently lists roughly thirty recipes at Early Access launch, with about half of them unlocked through leveling classes and the other half through finding recipe scrolls in the dungeon. The table below is a curated subset of the recipes every Emberville walkthrough recommends you target first.
| Bench | Recipe | Materials | Output |
|---|---|---|---|
| Crafting Bench | Sharpening Kit | 5 wood, 2 stone | +10% damage for 10 min |
| Blacksmith | Iron Sword | 15 iron, 5 wood | Tier 2 weapon |
| Apothecary | Minor Heal Potion | 3 herbs, 1 water | Restore 30% HP |
| Crafting Bench | Trap Kit | 8 wood, 4 iron | Placeable dungeon trap |
| Blacksmith | Steel Dagger | 12 iron, 3 cloth | Backstab scaling weapon |
A practical Emberville walkthrough tip is to keep at least one stack of herbs on your character at all times, because the apothecary bench is the only reliable source of healing potions during early boss runs. The Emberville tutorial for first-day players usually ends with a recipe shopping list, because the bench unlocks feel random until you understand that recipes are split between class level-ups and scroll drops.
Achievements, Progression, and Save System
The Emberville achievements layer is split into combat, exploration, settlement, and story categories, and the Emberville walkthrough usually starts with the easiest twenty because they unlock passively as you learn the controls. The Emberville wiki currently lists over fifty achievements at Early Access, with roughly one third of them tied to the Estate and one third tied to combat milestones, and the rest locked behind late-game boss kills. The save system, according to the broader Emberville beginner guide, is manual-and-auto hybrid, which matters for achievement hunters because some of the rarer achievements are missable per save file.
Early Achievements You Can Stack Today
The Emberville walkthrough below lists the achievements the wiki currently flags as guaranteed to unlock within the first three hours, assuming you finish the prologue and return to the Estate at least twice. Each one is paired with the trigger condition so you do not waste a run hunting the wrong milestone.
| Achievement | Category | Trigger | Notes |
|---|---|---|---|
| First Breath | Story | Complete the prologue | Unmissable |
| Estate Builder | Settlement | Place 3 buildings | Free milestone |
| Survivor | Story | Rescue your first NPC | Unmissable |
| Combo Initiate | Combat | Land a 5-hit combo | Easy in any early fight |
| Field Medic | Settlement | Use a potion in combat | One-time use is enough |
| Cartographer | Exploration | Open the map for the first time | One-time trigger |
| Iron Will | Combat | Survive a boss with under 10% HP | Cosmetic bragging rights |
The Emberville walkthrough priority is to land a 5-hit combo as soon as possible, because the achievement triggers a Steam notification that confirms the combo counter is working, and from there every fight feeds the counter. The Emberville tutorial for new players usually ends with a checklist of the first five achievements above, because the first five together prove that every system is online.
Progression and Save Tips
The save system is where most achievement runs fall apart, so the Emberville walkthrough has to spell it out: the game autosaves when you return to the Estate, and it also autosaves at every Shrine inside the Vitromotus, but it does not autosave during boss fights. The Emberville wiki is consistent on this point, because missing an achievement because the auto-save happened on the wrong side of a boss arena is one of the most common forum complaints. A practical Emberville tutorial tip is to manually save before any boss, which the keybind defaults to F5 on keyboard.
| Save Trigger | Type | Risk of Loss |
|---|---|---|
| Manual save (F5) | Always available | None |
| Auto-save at Shrine | Inside Vitromotus | Low |
| Auto-save at Estate return | End of run | Low |
| Mid-boss save | Not available | High |
The Emberville walkthrough for late-game achievement hunters usually routes around this by mapping manual save to a shoulder button on gamepad, because reaching F5 mid-fight on keyboard is awkward. The Emberville tutorial for new players, however, can safely rely on the auto-save at the Estate and the auto-save at the Shrine for the first two acts, because the boss difficulty curve has not yet hit the spikes that make the mid-fight save mandatory.
Frequently Asked Questions
What is the best starting class in this Emberville tutorial?
The Vanguard is the most forgiving starting class because its block passive reduces incoming damage and its Shield Bash gives you a ranged interrupt option. The Emberville walkthrough recommends leveling it to 5 before switching to your preferred damage class, because the block passive inherits into any active build.
How do I open the map and where can I find the fast-travel shrines?
Press M on keyboard or View on gamepad to open the isometric map. The Emberville wiki confirms that fast-travel shrines are scattered across the Vitromotus and they become active after you interact with them once, which is also the trigger for the Cartographer achievement.
Can I remap controls in the Emberville tutorial build?
Yes, the options menu supports full keybind and gamepad remapping, and the changes persist across sessions. The Emberville walkthrough recommends rebinding the dodge to whatever finger you rest on the space bar, because the default binding can feel heavy during long arena fights.
Do Emberville achievements reset if I start a new save file?
No, Steam achievements are tied to your account and unlock globally, but in-game progression achievements tied to settlement milestones can be missed if you skip the relevant NPC. The Emberville tutorial for completionists recommends finishing the Survivor chain before any optional dungeon, because some survivors are missable per playthrough.
Is there a co-op mode in the Emberville walkthrough?
Early Access launches as single-player, but the developer has flagged co-op as a post-launch priority. The Emberville wiki currently treats the co-op question as "coming soon" and the Emberville tutorial therefore does not include any co-op-specific routing, because the combat scaling is not yet finalized.