
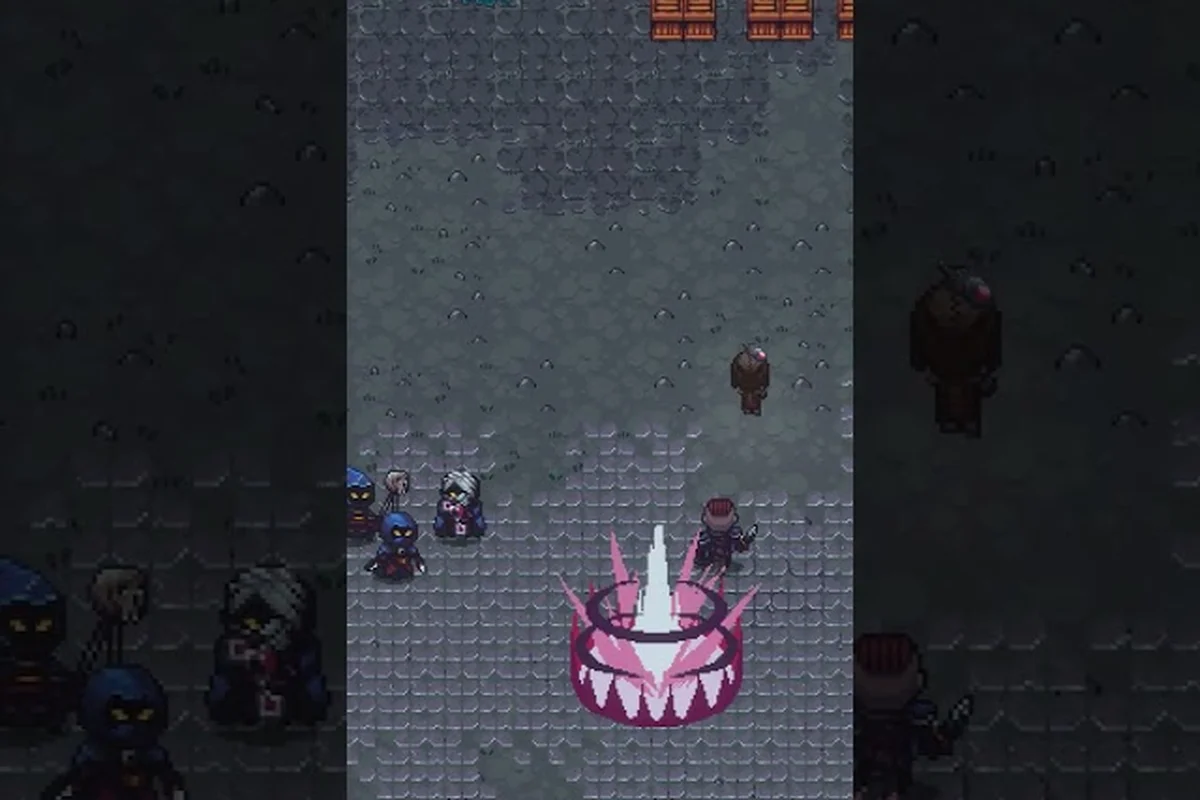
Every recipe in Emberville starts at a station, and learning how the crafting stations chain together is what separates a smooth settlement rebuild from a frustrating materials grind. This walkthrough maps out the workbench, smithing forge, alchemy lab, kitchen, fishing pier, mining node, and woodcutting camp so you know what unlocks first, what each station consumes, and how to lay them out efficiently in your estate.
The Vitromotus hands you raw materials at a brutal pace, and stations are how those materials become gear, food, potions, and tools. According to the Terminals listing, crafting sits alongside combat and settlement rebuilding as one of the three core loops, so getting the station layout right from week one pays off across every run.
Emberville Crafting Station Overview and Unlock Order
Emberville's crafting stations are not all available at the start. A handful are tied to plot unlocks, while others require rescued survivors or specific class levels. The seven core stations in the early- and mid-game loop are the Workbench, the Smithing Forge, the Alchemy Lab, the Kitchen Stove, the Fishing Pier, the Mining Camp, and the Woodcutting Camp. Each station consumes materials at a different rate, levels its own skill, and unlocks a different branch of the recipe tree.
The fastest path is to prioritize stations that feed your combat loop first, then expand into economy and buff stations. Most early-game builds depend on the workbench and the smithing forge for weapon upgrades, the alchemy lab for healing sustain, and either the mining or woodcutting camp to keep raw material flow alive.
| Station | Primary Output | Skill Tracked | Typical Unlock Trigger | Material Cost Tier |
|---|---|---|---|---|
| Workbench | Tools, trinkets, basic gear | Crafting | Available from estate start | Low |
| Smithing Forge | Weapons, armor, repairs | Smithing | Build the Forge plot upgrade | Medium |
| Alchemy Lab | Potions, elixirs, reagents | Alchemy | Rescue the Alchemist NPC | Medium |
| Kitchen Stove | Buff meals, baked goods | Cooking | Build the Kitchen plot upgrade | Low |
| Fishing Pier | Fish, bait, aquatic reagents | Fishing | Reach the lakeside biome | Low |
| Mining Camp | Ore, ingots, gems | Mining | Reach the first cave biome | Medium |
| Woodcutting Camp | Logs, planks, charcoal | Woodcutting | Reach the forested biome | Low |
Players who follow the unlock order above typically hit a smooth early-game economy, because each station feeds at least one downstream station. Wood from the woodcutting camp fuels the smithing forge's charcoal, ore from the mining camp feeds the forge's ingots, and the fishing pier produces bait that complements the alchemy lab's reagent farming.
How Stations Connect Through Materials
The station network is not a flat list. Each station both produces and consumes, and ignoring the connection between nodes is a common reason new players run out of materials mid-craft. For example, the smithing forge cannot function without Charcoal Briquettes and Iron Ingots, which only exist because the woodcutting and mining camps processed raw logs and ore first.
A clean way to think about the chain is to read the recipe list top-down. The Emberville crafting guide breaks the full recipe tree into the same tiers the in-game crafting menu uses, which makes station routing much easier to plan.
Station Skill XP and Leveling
Every station levels its own skill, and higher skill levels unlock quality tiers and rare recipes. Smithing levels through weapon and armor crafts, alchemy through potion batches, and mining levels by smelting raw ore. Woodcutting, fishing, and cooking all level through their respective loops as well. Because skill XP is granted per craft, not per material gathered, focusing on fewer stations at a time levels faster than spreading across all seven.
The Workbench: Your First Crafting Hub
The workbench is the first station unlocked and the most-used station in the entire game. It handles tools, trinkets, basic storage crates, and starter-tier furniture. Because every estate upgrade requires at least one workbench craft, the workbench is also the bottleneck for base building in the first ten hours.
What the Workbench Actually Crafts
Most players underestimate the workbench because its early recipes look simple. The workbench actually crafts Trinkets (the late-game economy engine), Tool Upgrades (pickaxe, axe, sickle tiers), and Repair Kits for gear durability. According to the Emberville tools crafting guide, trinket recipes unlock around craft level 15 and they produce the high-margin items that fund the rest of the loop.
| Workbench Tier | Unlock Level | Key Recipes Added | Material Demand |
|---|---|---|---|
| Tier 1 | Start | Crate, basic tool, repair kit | Low |
| Tier 2 | Craft Level 5 | Sickle upgrade, simple trinket | Low |
| Tier 3 | Craft Level 15 | Advanced trinkets, gold charms | Medium |
| Tier 4 | Craft Level 30 | Rare trinkets, master tools | High |
Where to Place the Workbench in the Estate
The workbench should sit as close as possible to your storage zoning because every craft pulls from the chest network. Most community-tested layouts place the workbench one tile away from a four-chest cluster, with the smithing forge on the opposite side. This split prevents material routing bugs and keeps the workbench from being blocked by forge smoke animations.
The Smithing Forge: Weapons, Armor, and Repairs
The smithing forge is the second station most players unlock, and it is the most resource-intensive station in the entire game. The forge crafts every weapon and armor piece above the starter tier, plus all gear repairs. Because the forge consumes charcoal and ingots at a heavy rate, players who skip the woodcutting and mining camp setups will burn through materials within a few crafts.
Smithing Forge Setup Requirements
Before the forge can operate, the player needs the Forge Plot Upgrade from the town building tree. The upgrade costs a baseline of stone, planks, and iron ingots, and unlocks the Forge Hammer and Tongs furniture. Once those are placed, the forge becomes interactive.
| Forge Level | Smithing Skill | Weapons Unlocked | Repair Discount |
|---|---|---|---|
| Forge I | 1-10 | Iron tier, basic repairs | 0% |
| Forge II | 11-20 | Steel tier, socket adds | 10% |
| Forge III | 21-35 | Emberforged tier, runes | 20% |
| Forge IV | 36+ | Legendary craft attempts | 30% |
Smithing Tips for the First Forge
The biggest mistake new players make is forging weapons they never use. Each forge craft consumes Charcoal Briquettes, which require planks, which require raw logs from the woodcutting camp. The Emberville crafting materials route breakdown is a good companion when planning which ore and wood to stockpile before attempting a forge upgrade.
The other common mistake is ignoring repair kits. Gear durability drops hard in the deeper Vitromotus floors, and running back to the forge after every expedition burns time. Crafting a small repair-kit batch before each run keeps the forge queue free for actual upgrades.
The Alchemy Lab: Potions, Elixirs, and Buff Reagents
The alchemy lab is unlocked by rescuing the Alchemist villager from the Vitromotus, which makes it slightly later than the forge in the unlock order. Once available, the lab produces every potion, elixir, and buff reagent in the game, plus the Reagent Catalysts needed for advanced smithing.
Alchemy Lab Crafting Categories
The lab is split into three branches: Healing Potions (HP recovery), Stat Elixirs (temporary stat boosts), and Reagents (crafting components for the forge and kitchen). The lab is also the only station that consumes fish and herbs together, so the fishing pier and herbalism nodes feed it directly.
| Potion Tier | Lab Level | Effect | Key Ingredients |
|---|---|---|---|
| Minor Healing | Lab I | Restore 25% HP | 2x Red Herb, 1x Water |
| Healing Draught | Lab III | Restore 50% HP | 3x Red Herb, 1x Honey |
| Stat Elixir | Lab V | +10% stat for 10 min | 1x Crystal, 1x Berry |
| Reagent Catalyst | Lab X | Used in forge crafts | 2x Mushroom, 1x Fish Oil |
When to Invest in the Alchemy Lab
Most players should hold off on the lab until the smithing forge is at Tier II, because the lab's first few levels produce only basic healing potions that the kitchen stove can also craft. Once the lab reaches Tier III, the Healing Draught becomes the best early-game sustain option, and the lab starts paying for itself. According to the Emberville herbalism guide, combining lab crafts with herb farm rotation is the most efficient alchemy path.
Fishing Pier, Mining Camp, and Woodcutting Camp: The Gathering Trio
The three gathering stations do not craft gear directly, but they feed every other station. They are also the only stations that work even while the player is offline, because their skill XP is granted on a timer once materials are queued.
Fishing Pier Setup and Catch Cycles
The fishing pier is the simplest gathering station, but it has a hidden catch-cycle system. Each in-game day cycles between Freshwater, Coastal, and Deep Water catches, and the recipe list changes based on the current cycle. Players who ignore the cycle often fish the same spot for an hour and assume the pier is bugged.
| Catch Cycle | Trigger Time | Rare Fish Available | Bait Cost |
|---|---|---|---|
| Freshwater | 06:00-14:00 | River Eel | 1x Worm |
| Coastal | 14:00-22:00 | Tidal Salmon | 1x Shrimp |
| Deep Water | 22:00-06:00 | Abyssal Cod | 1x Squid |
Mining Camp Tiering and Ore Priority
The mining camp is the highest-XP gathering station because each ore tier unlocks new forge recipes. Copper Ore is the starting material, Iron Ore unlocks the first forge upgrades, and Emberforged Ore is the late-game crafting bottleneck. Players who push deep into the Vitromotus without upgrading their pickaxe will see a lot of "ore too tough to extract" messages, so the mining camp is best leveled in parallel with the woodcutting camp.
| Ore Tier | Pickaxe Required | Forge Recipes Unlocked | XP per Node |
|---|---|---|---|
| Copper | Basic Pickaxe | Tin tools, basic ingots | 5 XP |
| Iron | Steel Pickaxe | Iron weapons, repair kits | 12 XP |
| Emberforged | Emberforged Pickaxe | Legendary crafts | 25 XP |
Woodcutting Camp and Charcoal Routing
The woodcutting camp is the most underestimated gathering station because raw logs look like a low-value resource. In practice, logs route into Planks, which route into Charcoal Briquettes, which feed the smithing forge. A single late-game forge craft can burn through an entire woodcutting queue, so most experienced players keep two woodcutters running at all times.
| Wood Tier | Axe Required | Downstream Product | Best Use |
|---|---|---|---|
| Softwood | Basic Axe | Planks, basic repairs | Estate upgrades |
| Hardwood | Steel Axe | Charcoal, mid-tier gear | Forge fuel |
| Ancient Wood | Emberforged Axe | Master planks, runes | Late-game crafts |
Putting It All Together: A First-Week Station Plan
The single biggest mistake new players make is unlocking all seven stations on day one and spreading materials across all of them. A more efficient first-week plan is to focus on four stations, in a specific order, so the material chain stays tight.
Recommended First-Week Unlock Order
| Day | Station to Focus | Reason | Materials to Stockpile |
|---|---|---|---|
| Day 1-2 | Workbench | Foundation station, low cost | Wood, stone, basic fiber |
| Day 3-4 | Woodcutting Camp | Feeds all forge and estate crafts | Axe, basic logs |
| Day 5-6 | Mining Camp | Feeds forge ingots and pickaxe upgrades | Pickaxe, basic ore |
| Day 7 | Smithing Forge | First major gear upgrades | Charcoal, iron ingots |
After day seven, the alchemy lab and fishing pier should be the next priority, followed by the kitchen stove for buff meals. This order matches the natural Vitromotus biome progression, so the player is rarely stuck on a station that requires materials from a biome they have not reached yet.
Common Station Mistakes to Avoid
Players who skip the workbench repair kits tend to over-craft at the forge, which is more expensive per durability point restored. Players who ignore the fishing cycle waste bait, and players who level every gathering station equally end up with all stations stuck at level 5. The community-recommended approach is to push one gathering station to Tier III before starting the next, which keeps the skill XP curve from flatlining.
The final tip is to place all stations inside a single connected estate zone. The estate crafting area has a hidden adjacency bonus, and stations within two tiles of each other process materials slightly faster. This bonus is small, but it compounds across a full play session and is the difference between a tight loop and a slow grind.
Frequently Asked Questions
What is the first crafting station I should focus on in Emberville?
The Workbench is the first station to focus on, because it unlocks at estate start and handles tools, trinkets, and repair kits. Most other stations depend on workbench-crafted tools before they can operate at full efficiency, so leveling workbench skill first prevents a downstream crafting bottleneck.
Where is the smithing forge located in Emberville?
The Smithing Forge is built inside the estate crafting area after unlocking the Forge plot upgrade from the town building tree. The upgrade requires stone, planks, and iron ingots, and it places the forge as a placeable furniture item you can move once built.
How do I unlock the alchemy lab in Emberville?
You unlock the Alchemy Lab by rescuing the Alchemist villager from the Vitromotus and assigning them to the estate. Once the Alchemist is housed, the lab plot becomes available and can be built with stone, glass, and herbalism reagents.
Is the fishing pier worth building early?
Yes, the Fishing Pier is worth building as soon as you reach the lakeside biome, because fish feed the alchemy lab and the kitchen stove. The fishing cycle rotates every eight in-game hours, so checking the pier twice per day keeps the bait economy stable and the alchemy queue full.
Can I move crafting stations after placing them?
Yes, all Emberville crafting stations can be picked up and relocated once placed, but the move consumes a small amount of building resources. Most community layouts recommend placing stations in their final spot on day one to avoid the relocation cost, but moves are cheap enough to correct early mistakes without serious material loss.